The right rail: inspector
Select a block on the canvas and the right rail — the inspector — shows that block's own settings. Where the left rail styles the whole store, the inspector styles just the one thing you clicked.
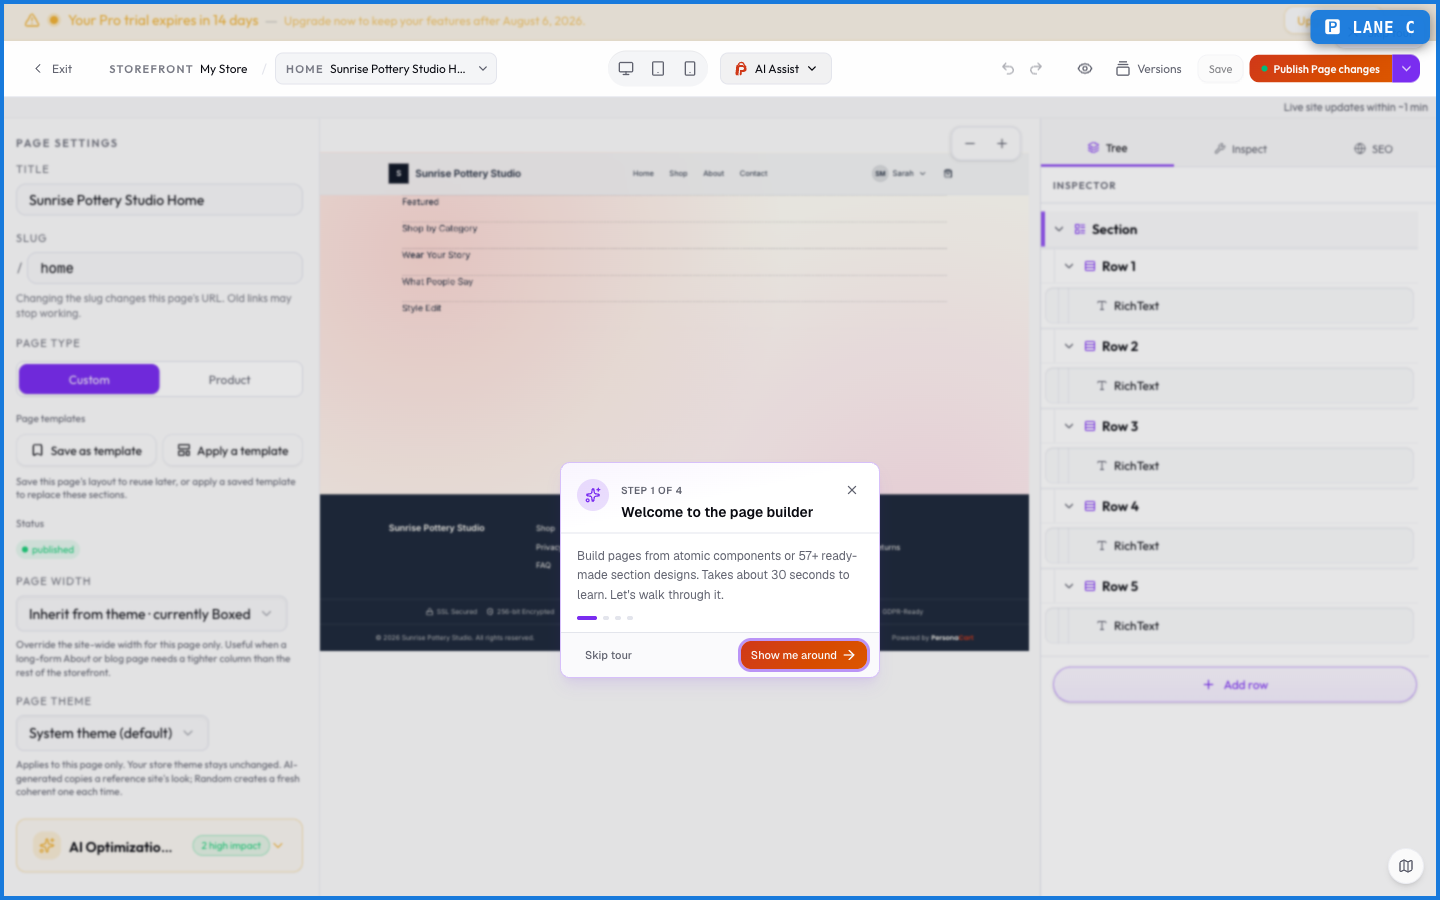
Right rail — this element only. Everything here changes the one block you have selected. Nothing else on the page moves.
Left rail — everywhere. Store-wide look: colours, fonts, spacing, corners. Set it once and every page follows.
An override here beats the theme for this element alone — which is what makes it useful, and what makes a store look inconsistent if you reach for it too often.
What it controls
The inspector's controls depend on what you selected — a heading has typography controls; an image has aspect-ratio and fit; a container has layout and columns. Common tabs include Layout (width, alignment, spacing, columns) and Typography (for text blocks). The full per-block breakdown is in the blocks & atoms reference.
What happens — and what doesn't
- Inspector changes affect only the selected block — nothing else moves.
- The controls shown are specific to that block type: you won't see typography on an image or aspect-ratio on a heading.
- Spacing and layout you set here render identically on the buyer's page — the editor and the live store share one renderer.
- As always, changes go live only when you publish.
Why do the inspector controls change when I select different blocks?
Because each block type has its own relevant settings. A text block shows typography; an image shows fit and aspect ratio; a container shows layout and columns.
Does the inspector change my whole store?
No. The inspector (right rail) affects only the block you've selected. Store-wide look lives in the left rail.
Will the spacing I set in the inspector match the live page?
Yes. The editor and your live storefront use the same renderer, so what you set is what buyers see.
What this screen looks like in every state
| State | When you'll see it | What you see, and what to do |
|---|---|---|
| Empty | You haven't created anything here yet | “No pages found” — with a shortcut to create the first one. Nothing is wrong; there's just nothing to show yet. |
| Loading | The screen is fetching your data | A skeleton in the shape of the finished page. It should be brief — if it persists, the load has failed rather than stalled. |
| Error | The data couldn't be loaded | A message with a retry. Retry first: most of these are a dropped request, not a broken store. If it repeats, the outage is upstream and reloading won't help. |
| No access | Your role doesn't include this screen | A permission notice instead of the page. An owner or admin can grant access under Settings → Team. |
When something goes wrong
These are the messages this screen can show you, and what each one means.
| If you see | What to do |
|---|---|
| "…" is reserved for a built-in store page (like cart or checkout). Choose a different slug. | Retry the action. If it keeps happening, contact support with what you were doing. |
| Cannot delete the shop page. | The change didn't save. Retry — if it keeps failing, the request isn't reaching the server. |
| Delete the product to remove this page. | The change didn't save. Retry — if it keeps failing, the request isn't reaching the server. |
| Page title is required. | A required field is blank. Fill it in and save again. |
| This page is protected and cannot be deleted. | The change didn't save. Retry — if it keeps failing, the request isn't reaching the server. |